How to Set Up WhatsApp Business API Step by Step [2026]
Step-by-step guide to set up WhatsApp Business API: Meta Business account, verification, BSP, phone number, webhooks and CRM.

Setting up the WhatsApp Business API isn't as complex as it seems. It's six concrete steps you can complete in 1 to 3 days depending on your company's verification by Meta. There are two paths: doing it through a BSP (Business Solution Provider) like GuruSup, which simplifies the entire process, or connecting directly to the WhatsApp Cloud API, which gives you more control but requires a technical team. This guide covers both options step by step. If you need prior context on what WhatsApp Business API is or a platform overview, check our complete WhatsApp Business API guide.
Step 1: create a Meta business account
Everything starts in Meta Business Suite. Access business.facebook.com and create your business account. You'll need: your company's trade name, legal name, tax address, a corporate email (not personal), and your website URL. This account is the control center where everything is linked: your future WABA (WhatsApp Business Account), your phone numbers, your message templates, and your billing.
If you already have a Facebook business page, you probably already have an associated Meta Business Suite account. Verify this before creating a new one, as duplicating accounts generates verification problems later. Make sure the account data exactly matches your legal documentation: any discrepancy between the registered name and official documents can delay or block the process.
Step 2: verify your business
Business verification is the most time-consuming step and the one most companies underestimate. Meta needs to confirm your business is legitimate before giving you full API access. You'll need to send official documentation: your company's tax ID, articles of incorporation or commercial registration certificate, and a document linking your business to a physical address (utility bill or bank statement in the company's name).
The process takes between 1 and 7 business days. Three factors speed up approval: that your website matches your company name in the documentation, that you use an email with your own domain (support@yourcompany.com, not a Gmail account), and that your Facebook page is active and updated.
What verification unlocks: going from a limit of 250 business-initiated conversations per day to 1,000 and up to 100,000, ability to request the verified account badge (green checkmark), and access to advanced features like bulk marketing messages. Without verification, you're operating with training wheels on. It's not worth skipping this step or trying shortcuts.
Turn customer support into loyalty and referrals with GuruSup
Soporte con IA que escala sin perder cercanía. Demo de 20 min.
Step 3: choose BSP or direct cloud API
This is the most important decision point. Two paths, with very different implications:
A) BSP (Business Solution Provider). Providers like GuruSup, Twilio, Infobip, or 360dialog that act as official Meta intermediaries. They offer you: a visual management panel, pre-configured integrations with CRM and support tools, additional features like AI agents or chatbots, and dedicated technical support. Setup is faster and you don't need a development team. This is the recommended option for the vast majority of companies.
B) Direct WhatsApp Cloud API. You connect to Meta's API without intermediaries. You build everything: business logic, webhook management, message storage, agent interface. You require: developers with REST API experience, server infrastructure, SSL certificate management, and continuous maintenance. It only makes sense if you're a technology company with your own team or if you need a level of customization that no BSP covers.
The rule is simple: if you don't have a dedicated development team, use a BSP. You can compare options in our BSP providers guide.
Step 4: register your phone number
You need a dedicated phone number for your WhatsApp Business API account. Key requirements: the number cannot currently be registered in WhatsApp (neither in the personal version nor in the WhatsApp Business app). If you want to use your current business number, you can port it, but it will be unlinked from the app and you'll lose the previous chat history.
You can opt for a new number. The format must be complete international: +34 for Spain followed by the number. During registration, you'll receive a verification code by SMS or voice call. An important fact: each number is linked to a single WABA. The name displayed to contacts must match your verified company name, with some variations allowed by Meta (like adding the department: "MyCompany - Support").
Step 5: configure webhooks and templates
Better customer support starts with GuruSup
Soporte con IA que escala sin perder cercanía. Demo de 20 min.
Webhooks. They're how your system receives real-time notifications from WhatsApp: incoming messages, delivery confirmations, status changes. You must configure an endpoint URL in the Meta panel (or in your BSP). Technical requirements: your endpoint must use HTTPS with a valid SSL certificate, respond with a 200 OK code in less than 5 seconds, and be available 24/7. If you use a BSP, the provider manages this layer and you don't need to worry about infrastructure.
Templates. Before sending the first proactive message to a customer, you need to create and submit your message templates for review. Meta approves (or rejects) them within 24 to 48 hours. Start with the essentials: a welcome message, an order or appointment confirmation, and a reminder. Each template must include an opt-out option to comply with regulations. Test everything in the sandbox environment before moving to production. Understanding how the API works will help you design better messaging flows from the start.
Step 6: integrate with CRM and support platform
The last step is connecting WhatsApp with your existing business tools. If you chose a BSP, you probably have native connectors for HubSpot, Salesforce, Zendesk, and other popular platforms. If you're on direct Cloud API, you'll have to build the integration yourself using each tool's REST API.
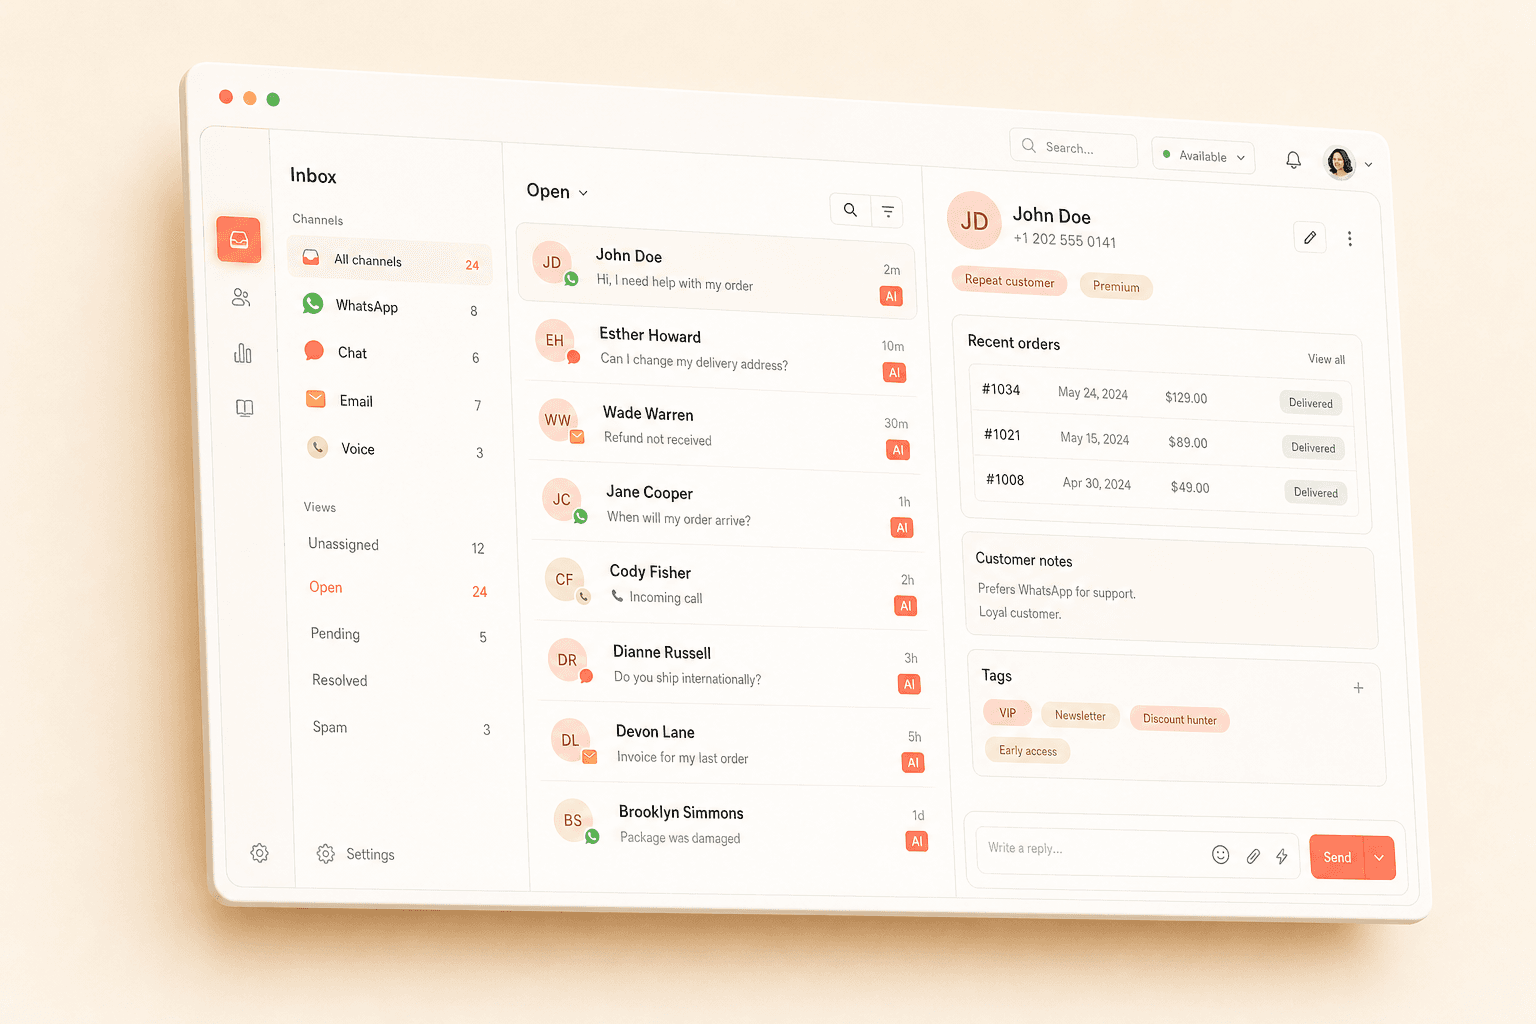
Priority connections: your CRM to centralize customer data and conversations, your helpdesk to automatically create tickets, an AI agent for automated 24/7 responses, and an analytics dashboard to measure channel performance. GuruSup offers these integrations natively, including conversational AI agents ready to connect without additional development.
Conclusion
Setting up the WhatsApp Business API follows a clear six-step process: create the account in Meta Business Suite, complete business verification, choose between BSP or direct Cloud API, register your phone number, configure webhooks and templates, and integrate with your CRM. With a BSP like GuruSup, the process is completed in 1 to 3 days. With direct API, plan between 1 and 2 weeks including development.
To understand the associated costs or explore the complete market, check the WhatsApp Business API guide. If you want to start today, try GuruSup for free and connect your WhatsApp in minutes.


